With which sharpening stone should I start?
When sharpening knives it is important to start with the right sharpening stone. With which grain size you need to start depends on the state of the knife. The blunter the knife, the coarser your stone needs to be, or the lower the grain size. But what if the grain size depends on the bluntness of your knife? How do you find out how blunt your knife actually is? We will tell you all about it! Below a couple of tests you can carry out at home to determine the sharpness of your knife.
Different grain sizes:
- Extra coarse: sharpening stones with a grain size up to 220 grit.
- Coarse: sharpening stones with a grain size ranging from 220 to 600 grit.
- Medium: sharpening stones with a grain size ranging from 600 up to 1000 grit.
- Fine: sharpening stones with a grain size ranging from 1000 to 3000 grit.
- Extra-fine: sharpening stones with a grain size ranging from 3000 to 5000 grit.
- Ultra-fine: sharpening stones with a grain size of 5000 or more.
After sharpening on a sharpening stone with a low grain size, you continue with a sharpening stone with a higher grain size. Always try to use the next logical step. So from coarse to medium and from medium to fine.
Disclaimer: the above mentioned listing is not official or fixed. It is the way we prefer.
For this topic we use the Japanese JIS standard grain sizes.
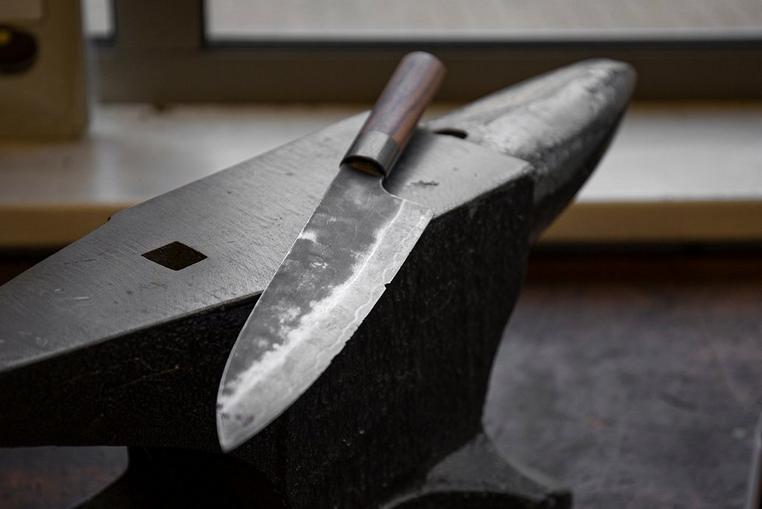
Test 1: visual test
The first test is simply looking at the condition of the edge. It sometimes happens that after years of use you see pits, dents or even bites in the edge. These damages really affect the use of the knife!
Unable to find any damage? Immediately start with the second test!
Can you clearly see that the edge is damaged? If so use a sharpening stone with a 0 to 220 grain size (extra coarse to coarse). This grain size will quickly get rid of any imperfections. They can even re-profile your edge. As soon as you have removed the damaged parts you can continue with the second test.
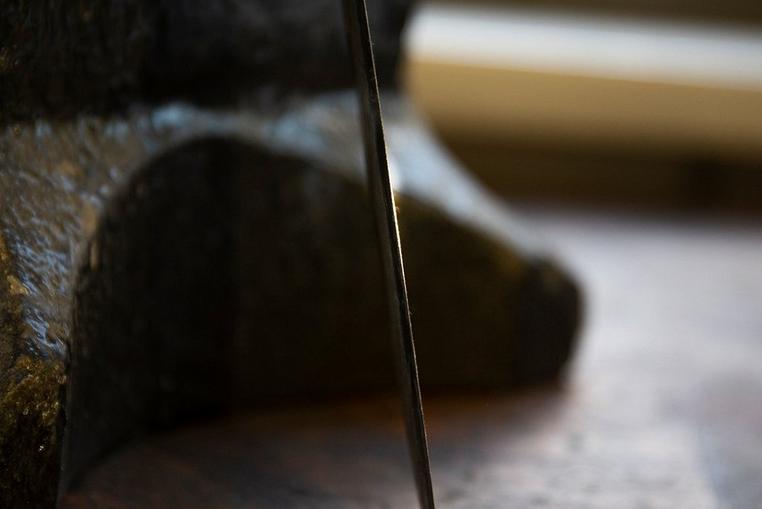
Test 2: reflection test
The second test is the reflection test. Put your knife underneath a light source with the edge facing up. The places on the edge that are blunt will be reflected by the light. Unable to find a reflection on your edge? If so continue with the third test! Did you see some reflection on your edge? If so use a sharpening stone with grain size 220 to 600 (coarse to medium). Do make sure that you use the right angle to sharpen the knife! Sharpen as long as it takes to no longer see the reflection on the edge and continue with the next test
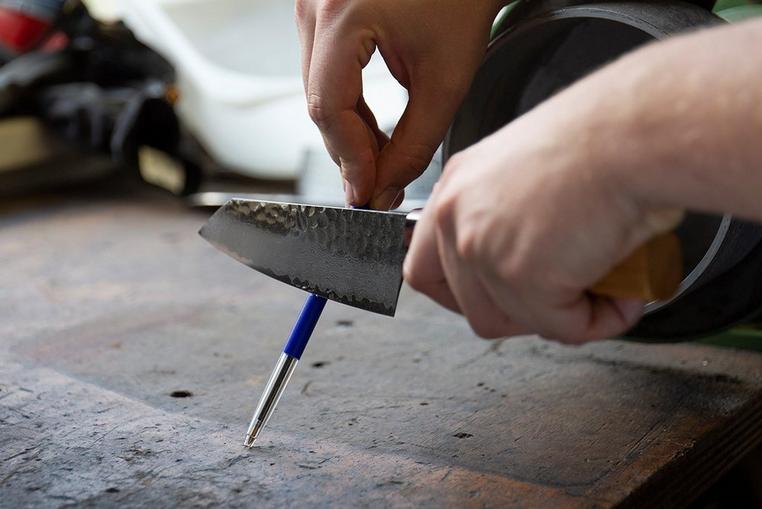
Test 3: ballpoint test
The third test is the ballpoint test. Place a ballpoint pen in front of you on a table at an angle of approximately 60 degrees. Hold the knife vertically and place the edge on the pen. Don't apply any pressure but let the weight of the knife rest on the pen. Does the knife slide off? If it does your edge is too blunt or sharpened with a wrong angle!
First sharpen (with the right angle) your knife using a medium sharpening stone ranging from grit 600 to 1000 followed by a fine sharpening stone with a grit ranging from 1000 to 3000 and repeat the test until the knife ‘takes hold’ of the pen. If this does not happen start test 2 again. Will the knife immediately take hold of the pen? This means that the knife is still nice and sharp. Continue with test four!
Test 4: paper test
The paper test is perhaps one of the most well-known ways to see if your knife is sharp enough. The test is quick and efficient and you will almost always have a piece of paper lying around. Hold the piece of paper in front of you using only one hand. Use the other to try to cut through the paper from the edge. If the knife easily slides through the paper you can start with step 5! If it gets 'caught' on the paper or doesn't go through the paper at all you need to sharpen your knife. Use a medium sharpening stone ranging from 600 to 1000 grit, followed by a fine sharpening stone ranging from 1000 to 3000 grit. Repeat the test until your knife will easily cut through the paper.
Does your knife easily move through the paper? Usually this sharpness is enough for your pocket knife, bushcraft knife or any other knife with a thicker blade. You could sharpen your knife to make it even sharpen but unfortunately this type of knife won't retain its sharpness long because these types of knives are often used for the more demanding tasks. A kitchen knife is mostly used for lighter tasks and therefore retain their sharpness a lot longer. Want to make your knife even sharpen? If so continue with the fifth test!
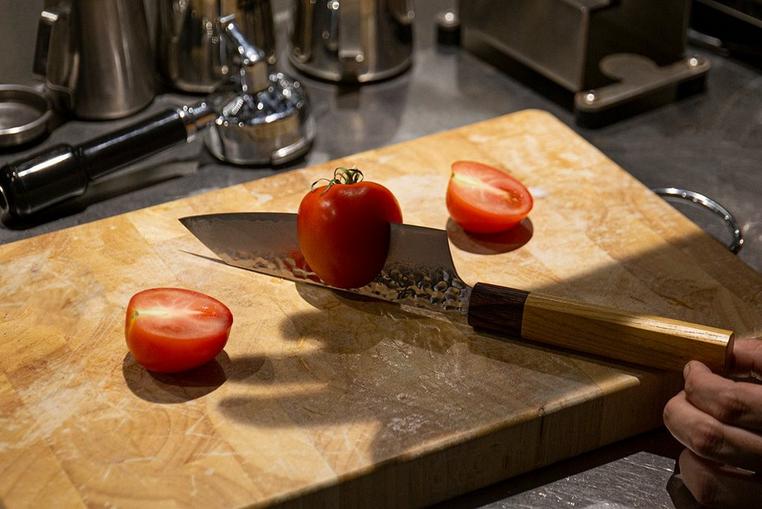
Test 5: tomato test
The next test revolves around cutting a tomato. Because of the relatively tough skin and soft inside this is a great way to test the sharpness of your knife. Place the tomato on a cutting board and try to cut a slice without applying any pressure.
Does the knife slide off the tomato? Start with a fine sharpening stone ranging from 1000 to 3000 grit, followed by an extra-fine sharpening stone ranging from 3000 to 5000 grit. Can the knife cut the tomato without crushing it? If it does your knife is sharp enough for normal use in the kitchen.
Polishing
Looking for ultimate sharpness or a mirrored edge? A sharpening stone with grain size 5000 or higher (ultra-fine) will no longer remove material from the edge. All you are doing is basically smoothing out the minuscule irregularities in the blade. As such the knife will offer even less resistance as you use it. After this step try not to repeat the paper test too often, or not at all! This test could namely affect the sharpness of your knife.
Another popular way of ending up with a razor-sharp or mirrored edge is to use a leather or cloth strop after sharpening on a sharpening stone. We can imagine that it looks like moving a steel blade over a piece of leather won't do much, but trust us. It will truly make your knife sharper.
Bonus tests
- A famous test is shaving your arms or legs. Hold the blade in a sharp angle (almost flat) against your arm or leg and CAREFULLY try to shave off the hair. If the shaving feels rough you can continue sharpening on a sharpening stone with an even higher grain size.
- Comparable to the ballpoint test is the nail test. You should also be very careful when carrying out this test! Hold your nail at an oblique angle and place the edge of the knife on your thumb. If the knife cuts into the nail and doesn't slide off it is relatively sharp.
- Another test you can easily carry out is the tomato falling test. Hold the knife with the edge facing up and let a tomato drop on the edge from about 30 cm high. If the tomato is cut in half without any resistance your knife is razor-sharp! You can also try to increase the distance between the knife and tomato to look for the limit of ultimate sharpness!
Sharpness tester
Do you accurately want to measure the sharpness of your knives? It is possible! Check out the Edge-On-Up sharpness testers.
Do you also want to learn more about the rest of the sharpening process? Check out our video manual about sharpening on sharpening stones! Not sure which angle to use to sharpen your knife? We would love to tell you more about how you need to sharpen your knife using the right angle.


