ESEE 4 in 3D Handle - Expert Review by Padraig Croke
I have been a fan of ESEE knives for a long time now, having owned a significant range of their models over the years. This range includes the ESEE 6 and ESEE 3, in the very same specs and materials we are looking at today. Not to mention the PR4, JG5 and the Izula II. Just take a look at my Izula and you will see how much use I get out of mine. They are knives of pure utility and functionality. However, the team over at ESEE don’t like to rest on their laurels, and they’re constantly improving the materials and styles of their knives. So, let’s take a look at the ESEE 4 in 3D milled Natural Canvas micarta, and explore the advantages of upgrading if you already own the original.
The modern classic
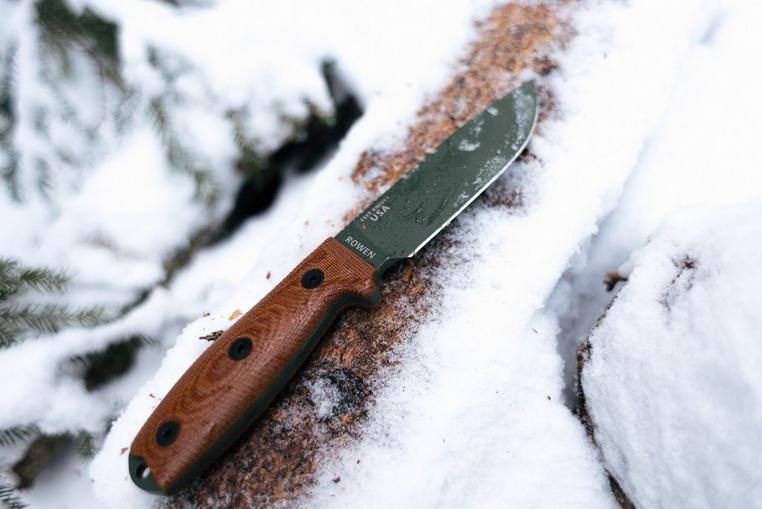
The ESEE 4 is arguably one of the most recognisable and popular survival knives out there. Designed as a utility and field knife with a 4.1 inch (10.4 cm) blade of simple and robust 1095 steel, the ESEE 4 has stood the test of time. This knife has been used and abused by bushcraft enthusiasts and tactical practitioners alike. I think one of the reasons people always return to their ESEE knife is the trust they have in the products. Time and time again, we have seen the ESEE team testing prototypes and new blades on their own field trips and training courses, only for these products to appear on the market a year later. There is no denying that they extensively test their own creations, and it shows.
Not just a survival knife
Back when I wrote my review about these new 3D milled models from ESEE, I spoke about all the things I love in their knives. The simplicity of 1095 steel when it comes to maintenance and sharpening. The improved ergonomics and handling options of the new handle shapes (based on the original design which was more square-shaped), and the tightly snug and sleek moulded sheath. All of these things are true in the ESEE 4. But this model feels even more comfortable to me than the 3 and the 6 models. The ESEE 4 sits in the Goldilocks zone in terms of weight and blade length, and I think this size appeals to not just survival enthusiasts, but also bushcrafters.
This blade is just about the perfect length for both intricate knife work and for heavy duty camp maintenance, such as firewood processing and shelter building. In Mors Kochanski’s Bushcraft about a man whose training combines bushcraft and survival skill, he talks about his knife and what he considers ideal.
'The general-purpose bush knife should have a blade as long as the width of the palm […] A blade 10 to 15 centimetres long will do intricate work like carving a netting needle, yet be large enough to present a good target for a baton when cutting down small trees […] The blade should be of good quality carbon steel, from two and a half to three millimetres thick and about two to two and a half centimetres wide […] The metal of the knife blade should extend for the full-length of the handle (a full tang) for strength. The handle should be a durable, water-resistant material that can be shaped to the user’s hand if necessary. The knife should have a strong pommel that will protect the handle if the knife is driven tip first deep into wood.’
The ESEE 4 is described by most as a survival knife first and foremost… But from the classic description above of the ‘ideal bush knife’, for all intents and purposes, this could be describing our ESEE.
Balance and ergonomics
In my experience with ‘survival’ blades in the past, the most basic of factors seems to get lost in the pursuit of making knives ever bigger, thicker and chunkier, and that's balance! And when I say balance, I’m not just talking about the actual weight distribution, but also the balance of elements like blade length and height, material choices etc. It’s shocking how few survival blades are actually comfortable to use over a prolonged period of time, or even usable in any kind of position other than a full grip or for chopping. I’ve said this before in other reviews, but one of the things that sets ESEE apart for me is that they never add any unnecessary elements to their tools. Their knives always feel like the fat has been trimmed and every curve and swell is there for a reason. (The one exception to this is the PR4, which I found quite uncomfortable to use and could do with a little more body in the handle).
A true utility knife, no matter the category it fits into, should be able to process firewood and make a netting needle, and I believe the ESEE 4 is just right for this. For example, the handle shape of this knife has a coke bottle shape to it, which features on a lot of the classic bushcraft, woodlore type knives out there. This shape is the reason behind the knife’s versatility in the hand. Another nice feature of the scales shape is how the front of the scales angle down towards the ricasso, which again is not uncommon for bushcraft knives. This gradient allows you to keep your thumb in a comfortable position when performing chest lever pulls.
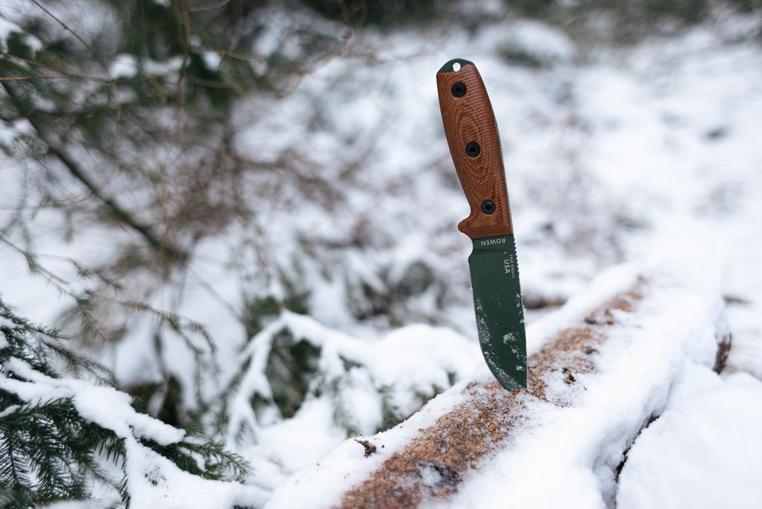
The original ESEE 4, with its flatter, more squared off scales, still has its place of course. The original allows for a tighter carrying possibility if you want to be discreet about it. But in my mind, these newer scales are an upgrade and they move the 3D milled version of this knife closer to the middle of the scale between bushcraft and survival knives. It’s a beautiful middle ground between these categories for me. Full grip and reverse grips, against your knee, pull strokes and chest levers all feel really effortless with the ESEE 4. No awkward swells or curves in the handle that get in the way. The exposed pommel is also a really nice feature for me. It’s always great to have that piece of steel. Both in bushcraft situations, for example for processing amadou or roots, and in survival situations, where it functions as an excellent glass breaker. Its curvature makes it comfortable against the chest in chest lever motions. I find this position really comfortable, and I probably use it more than most, so I absolutely need my knife to work in this position. It’s almost a deal breaker if I can’t.
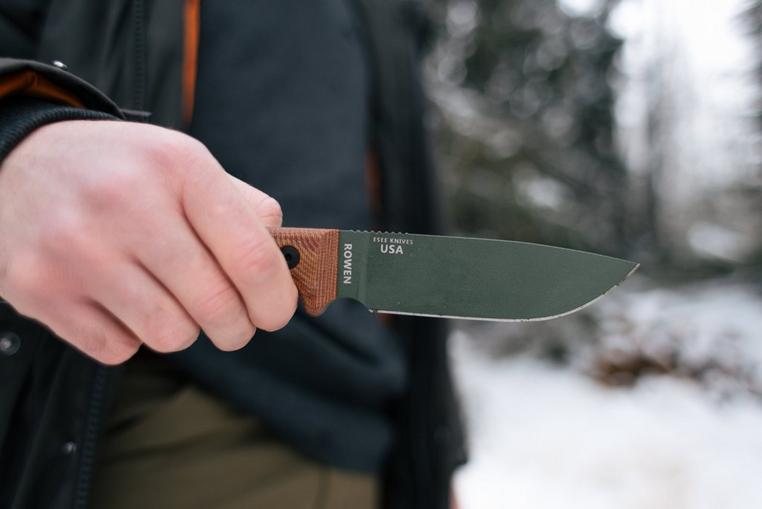
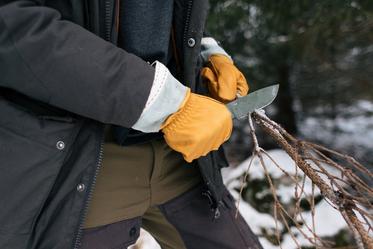
The knife has a deep finger choil for my index finger, combined with the comfortable indent in the scales behind that for the middle finger and the grippy jimping. All of this allows for excellent control of this blade; even with gloves on, which is essential for me in the cold. The knife disappears into your hand and becomes almost invisible. The belly of the blade is at such a perfect angle that you can choke up on the blade for maximum control. This pushes the balance right into the palm of your hand and makes the cutting edge really easy to manoeuvre. I doubt anyone has ever described an ESEE as elegant, but for me this knife is exactly that.
All in all, I think the ESEE 4’s balance and ergonomics are some of the best in the game!
But there is one main gripe I have with the blade, and yes, you guessed it... Its powder coated blade.
Powder coating or no powder coating?
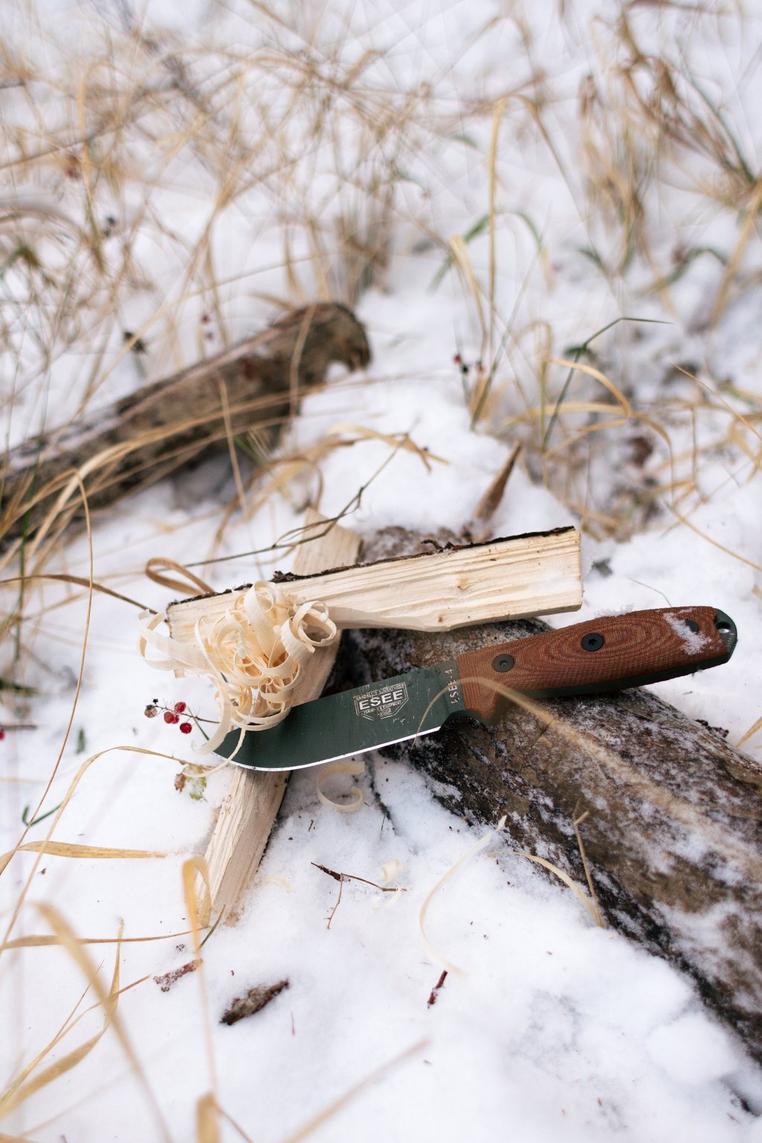
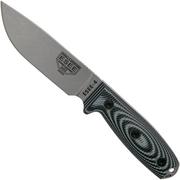
Powder coating is one of those things, along with a flat grind, that pretty much define a blade as being a ‘survival’ knife. I get that everyone has their preferences when it comes to this stuff, and I talk about this a lot in reviews. Yes, it looks cool, and yes, it allows ESEE to offer a range of colour options, such as safety orange for hunters. Yes, it stops the steel from glinting in sunlight, which is preferred for tactical use, and yes, it stops the blade from corroding. 1095’s corrosive resistance is extremely low, and a blade made from it will show signs of corrosion after just a few hours of exposure to moisture, salt or snow. So, with that out of the way I would say that I don’t need my blades to be powder coated. The advantages of no powder coating outweigh the disadvantages in my opinion, and there are other ways of protecting 1095, such as stone washing or forced patina, which ESEE have done on their Camp-Lore series.
So, what are the advantages of having a non-coated survival knife? The main one for me is the knife's ability to help you light a fire. As we spoke about in my Fallkniven F1x article, a knife's ability to help you start fire is the first stage of many to keep you alive in a survival situation. Removing the coating on a blade, provided it’s a high carbon steel, will give you two more options to get a fire going. The first option is striking a rock or a piece of flint off the back of your knife to produce a spark. With practice, this can be harnessed to build a sustainable fire. The second option comes from having the knife's spine exposed to strike a firesteel against, which also produces a reliable spark. I will also add that the second option also requires your blade's spine to have a sharp 90-degree spine, which the ESEE 4 does not have, even if you remove the coating.
But the good news is this! With a few modifications, the ESEE 4 can still offer you these options, making it an even better knife than it already is. All you need is a can of powder coating stripper (which is available at most hardware stores), a file and a small tube of Perma Blue. Make sure you remove the scales on your knife first though, and always wear rubber gloves when you’re handling chemicals. There are plenty of tutorials out there, so I won't go into this now, but I have gone through this process with my Ka-Bar BK2 and my ESEE Izula. It has made them a lot more versatile as bushcraft and survival knives for me. There is also the option to simply file away the coating on the spine only, revealing the carbon steel below and squaring it off to a 90-degree angle for striking a firesteel.
Workhorse potential
A one-log fire can stretch quite far, and you’d be surprised what you can accomplish with it. Essentially, it is exactly what it sounds like, building a sustained burning fire using just one log, with enough heat generated to boil 500 ml of water. It’s a task that one can practise so as to be able to perform when needed, and I would recommend you try it for yourself. It also allows you to see the potential of your resources, however scant they might be in a situation. Processing a log down into smaller parts, depending on the size of the log, is a great lesson in preparation. I’ve seen people fail to properly prepare their firewood into the right sizes, and have their little flame burn out because the pieces they're trying to burn are too big. So, it’s important that your knife can do both the large processing, and the finer work of making feather sticks to establish your flame in the first place.
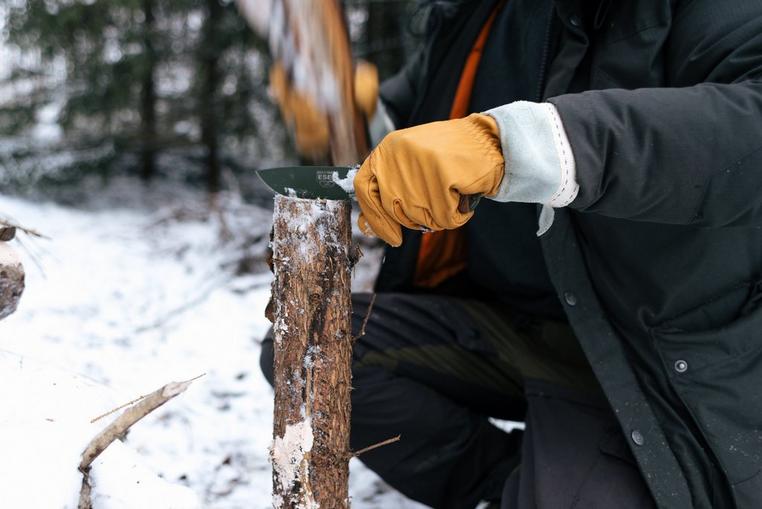
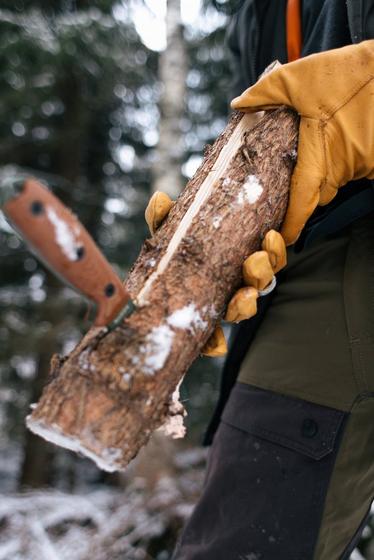
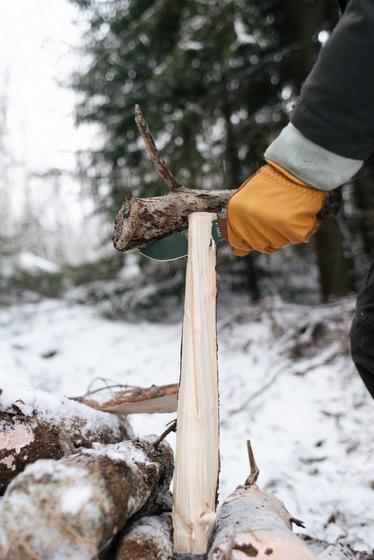
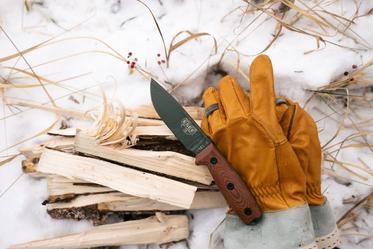
With all my talk of the ESEE 4 being a balanced and elegant solution, it can also be a brutal workhorse when needed. When I took this knife out, I wanted to see what it could handle. For this shoot I took a pile of frozen, knotty old pine logs and started beating the 4 through them. Frozen logs are a tough job, even for an axe. All that moisture in the wood makes the log tough as nails to get through. A perfect test for the knife. If I was in a survival situation, especially in Finland, it would most likely occur in conditions like this: when it’s dangerously cold and I need to get a fire lit to maintain my core body temperature, melt snow and rehydrate, and possibly dry my clothing if I've become wet.
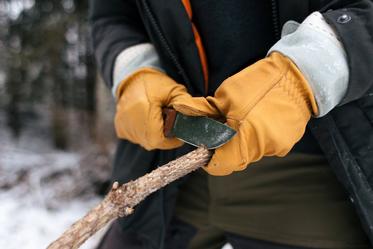
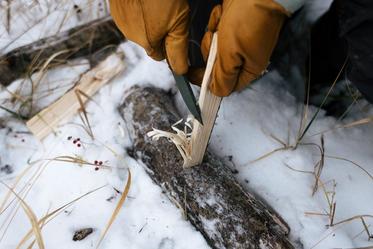
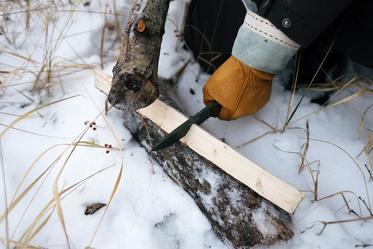
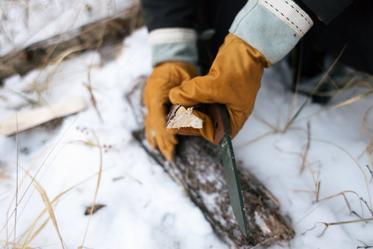
The ESEE made light work of them! Making my one-log bundle of wood started with me splitting the log in half first, which is always going to be the hardest part. I was twisting and torquing my blade through this twisted log, and slamming the pommel end in order to expose more of the tip for batoning. It found its way through the knots with satisfying cracks, giving me two solid pieces of the log to further process down. I split these down to a smaller bunch and finally, with one of the slivers I split it cross grain into two smaller pieces, which then served as little feather sticks to get the flame going. The ESEE had no trouble with any of this. The cross grain splitting was clean as a whistle, and the feather sticks sliced smoothly like carving butter, the edge still popping hairs even after that.
Conclusion
ESEE will always be one of those reliable companies to me. I love their blades, and I love how comfortable they are on both sides of the fence between survival blades and acceptable bushcraft tools, an accomplishment that should not be understated. Simple, robust and workable materials, clean lines and no excess, an ESEE blade on your hip will always get an earnest nod of approval from anyone who knows anything about reliable tools.
If you want a tool that really will do it all, and then sit unassuming and patient until it’s called upon again, and again and again, then I recommend an ESEE 4. And with these 3D printed handles, the ESEE 4 just got a whole lot more usable in my opinion.
Pros
-
Balance and ergonomics are top notch. Just the right size for an all rounder
-
Really comfortable handle. Will feel familiar to anyone who’s used to handling bushcraft knives
-
1095 steel is really manageable and easy to sharpen. Lots of sharpening options
-
Easy to maintain with regards to corrosion and moisture
-
Comfortable in a wide variety of hand positions
Cons
-
Powder coating limits resource opportunities. Would prefer stone wash and a 90-degree spine.
-
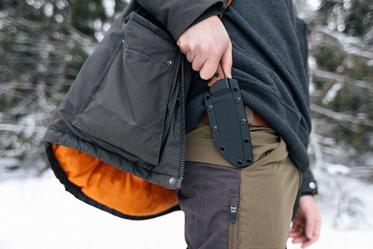
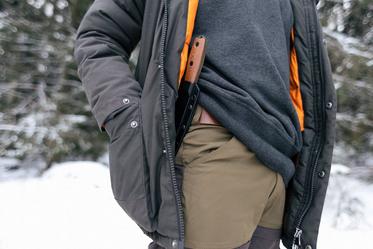
Sheath rides a little too high, it almost digs into the ribs when sitting down. I would recommend upgrading to a leather or a dangler sheath
Padraig Croke
Padraig Croke is the host of the outdoors podcast Trial by Fire, which ran from 2018-2023. A graphic designer and photographer by day, as well as an avid outdoorsman and bushcraft enthusiast, when he's not writing for us he's usually out in the field making film or taking photographs.

You can find his work at www.padraig.me or by following him on instagram @padraigcroke
Thanks, Padraig, for this awesome review!


?%24center=center&%24poi=poi&%24product-image%24=&fmt=auto&h=500&poi=%7B%24this.metadata.pointOfInterest.x%7D%2C%7B%24this.metadata.pointOfInterest.y%7D%2C%7B%24this.metadata.pointOfInterest.w%7D%2C%7B%24this.metadata.pointOfInterest.h%7D&scaleFit=%7B%28%24this.metadata.pointOfInterest%29%3F%24poi%3A%24center%7D&sm=c&w=1208)


?%24center=center&%24poi=poi&%24product-image%24=&fmt=auto&h=500&poi=%7B%24this.metadata.pointOfInterest.x%7D%2C%7B%24this.metadata.pointOfInterest.y%7D%2C%7B%24this.metadata.pointOfInterest.w%7D%2C%7B%24this.metadata.pointOfInterest.h%7D&scaleFit=%7B%28%24this.metadata.pointOfInterest%29%3F%24poi%3A%24center%7D&sm=c&w=1208)
